
Dog scratches on hardwood floors do not automatically mean sanding or replacement. Light marks can be cleaned or concealed, while gouges, exposed wood, and moisture damage need different treatments. The first step is identifying what your dog actually damaged: the finish, the wood, or both.
Light scratches can be made less visible without sanding, but concealment is not removal. Cleaning removes transferred dirt or scuff material. A touch-up product reduces colour contrast. A compatible finish treatment repairs or renews the protective surface. Sanding physically removes material, while board replacement removes the damaged plank.
Solid and engineered hardwood can both scratch because both expose real wood beneath a protective finish. Engineered construction improves dimensional stability; it does not automatically make the surface resistant to claws. An isolated scratch also does not mean the entire room needs replacing.
Choose the repair route according to the damaged layer:
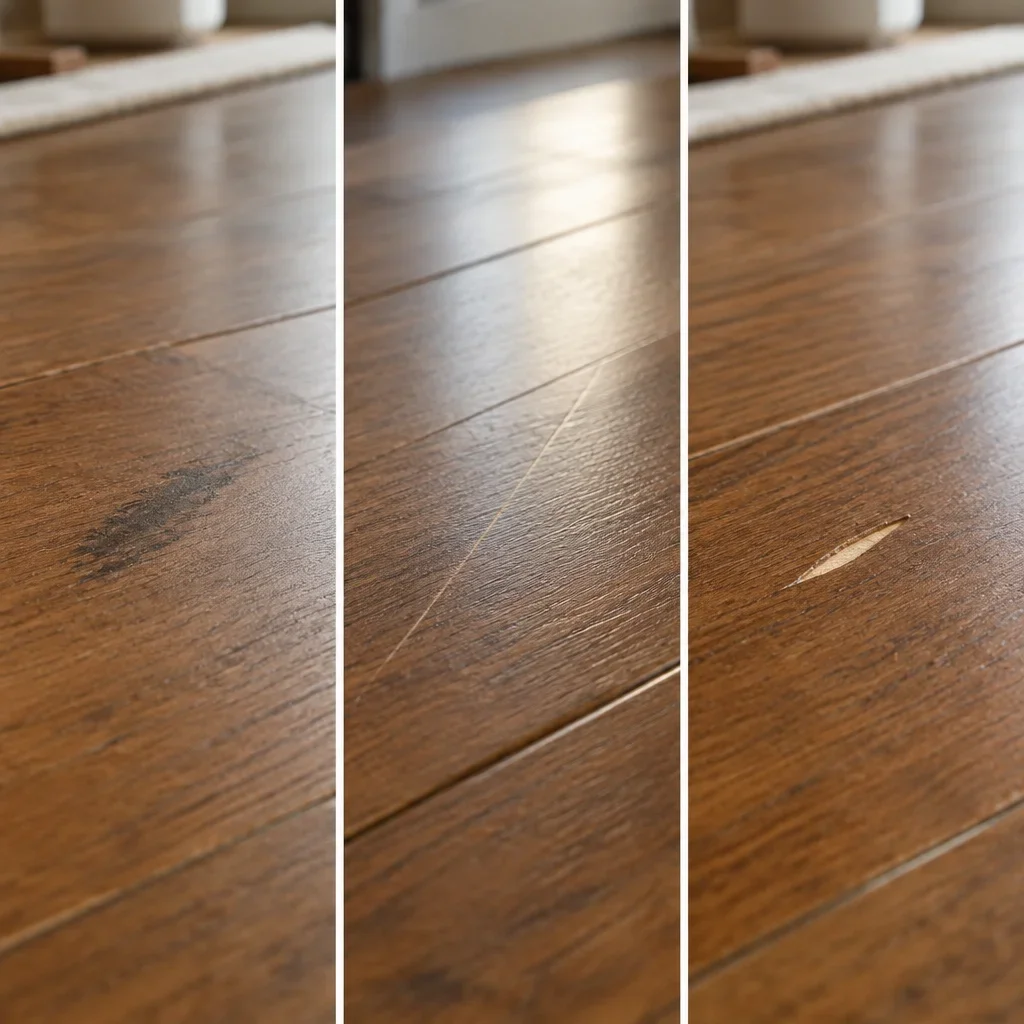
Inspect the floor after removing grit and cleaning gently. Angled light helps reveal changes in sheen and surface texture. Scratch colour alone cannot establish depth, and a groove felt with a gentle fingertip is only a clue. Do not scrape the line or enlarge it to investigate.
| Visible sign | Likely damage | Suitable first approach | Expected limitation | When to stop DIY |
|---|---|---|---|---|
| Dark or rubber-like mark sitting on the surface | Transferred scuff material | Approved cleaner and a soft cloth | Cleaning will not remove an underlying scratch | The mark remains or the sheen starts changing |
| Fine line visible mainly under angled light | Clear-finish scratch | Clean, then assess a compatible finish treatment | Colour products may not help | Finish compatibility is unknown |
| Pale line or missing colour | Colour loss or exposed wood | Compatible colour touch-up after testing | The groove or broken finish may remain | Raw wood, splintering, or a broad damaged area is visible |
| Deep groove, crushed edge, or dent | Wood damage, potentially with finish damage | Assess a floor-rated repair compound or board replacement | Filler cannot reproduce every grain or texture | Boards are split, unstable, or extensively damaged |
| Dark staining, raised edges, swelling, or persistent odour | Moisture or urine damage | Blot fresh moisture and assess the affected assembly | Cosmetic products cannot address trapped moisture | Boards cup, swell, soften, or retain odour |
A fine line on natural oak that appears only in reflected light suggests a finish-level problem. A pale groove across dark-stained wood suggests lost colour or exposed wood. A gouge through an engineered plank’s face requires a different assessment because sanding could remove too much of its wood surface. These are visual clues, not proof of repair eligibility.
Identify solid versus engineered flooring through existing product records or an accessible spare-board edge. Solid hardwood is wood throughout its thickness. Engineered hardwood has a real-wood surface bonded to a layered core. Do not lift installed boards just to identify their construction.
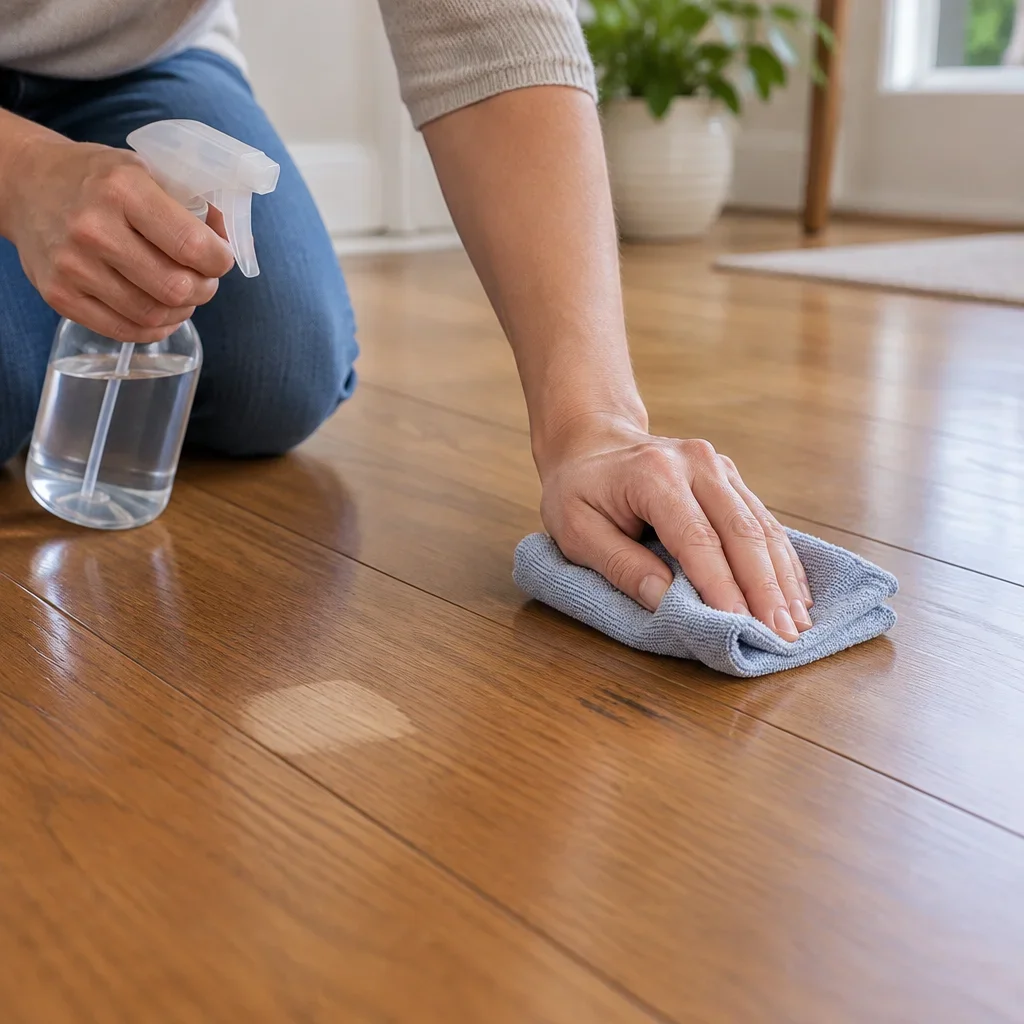
The safest starting kit removes grit without adding abrasion or unnecessary moisture. Film-finished floors and penetrating-oil floors use different maintenance systems, so a product intended for one is not automatically suitable for the other.
Gentle cleaning can remove transferred scuff material, but it cannot rebuild missing finish. Use a lightly dampened cloth with the approved cleaner rather than soaking the mark. Stop if rubbing changes the sheen; stronger pressure can turn a small mark into a larger dull patch.
Use this sequence before applying any repair product:
Stain markers and blending pencils mainly reduce contrast between a scratch and the surrounding wood. They do not flatten a groove or restore a missing protective coating. A marker may do little for a white line confined to clear finish, while colouring nearby grain or bevels unnecessarily.
Wax repair sticks and finish restorers are not interchangeable with colour markers. A floor-rated wax repair product may fill a small defect, while a restorer may leave a film across the surface. Either can affect later finish work, so suitability depends on the existing finish and the intended future repair.
A hidden-area test must evaluate the finished result, not just the wet colour. Apply the product as directed, allow its specified drying period, and inspect under daylight and angled light. Look for a dark outline, cloudy patch, tackiness, altered sheen, or colour transfer before treating the visible damage.
Keep pets away during application and until the product’s stated return-to-use conditions are met. Dry-to-touch does not necessarily mean fully cured or ready for claws, rugs, cleaning, or furniture.
Hand polishing approved for a particular finish is different from abrasive machine buffing. A buffer can alter sheen or remove coating, and it cannot reliably erase a deep dog nail scratch without affecting surrounding material. Newly finished floors also need their finish-specific curing conditions respected before polishing or adding another product.
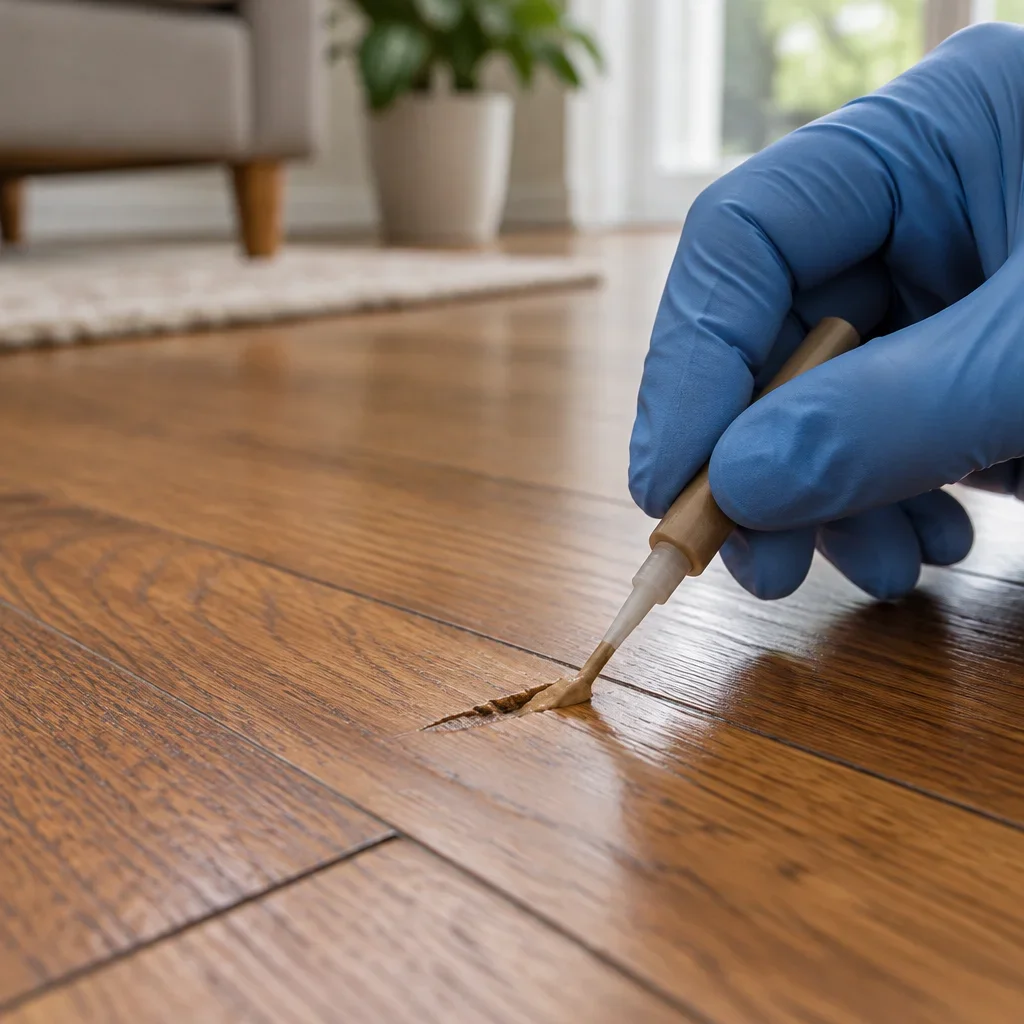
A compatible flooring repair compound can fill an isolated groove without sanding the whole floor. The result is a cosmetic repair: colour, grain, texture, and sheen determine how visible it remains. Generic wood filler intended for unfinished joinery is not automatically suitable for a finished walking surface.
For a small defect where the product specifically permits finished-floor repairs:
A wax stick may suit one finish system while another floor needs a different repair compound. Filling a gouge does not recreate continuous wood grain or restore the original factory coating. A visible but stable repair can still be preferable to aggressive sanding around a small defect.
Recoating renews a compatible finish; sanding and refinishing remove material. A professional recoat involves suitable preparation and adhesion assessment before another finish layer is applied. It does not erase deep dents, missing wood, or stains below the coating.
Spot sanding can leave a halo because the repaired patch differs in colour, texture, or sheen. Factory-finished bevels, wire brushing, and hand-scraped surfaces make local matching especially difficult. Broad refinishing may produce a more consistent appearance, but only where the floor construction permits it.
Board replacement can address an isolated split, deep gouge, or moisture-damaged plank. Feasibility depends on the installation method, access, matching stock, and the condition of neighbouring boards. Even an unused matching plank may look different because the installed floor has aged in light.
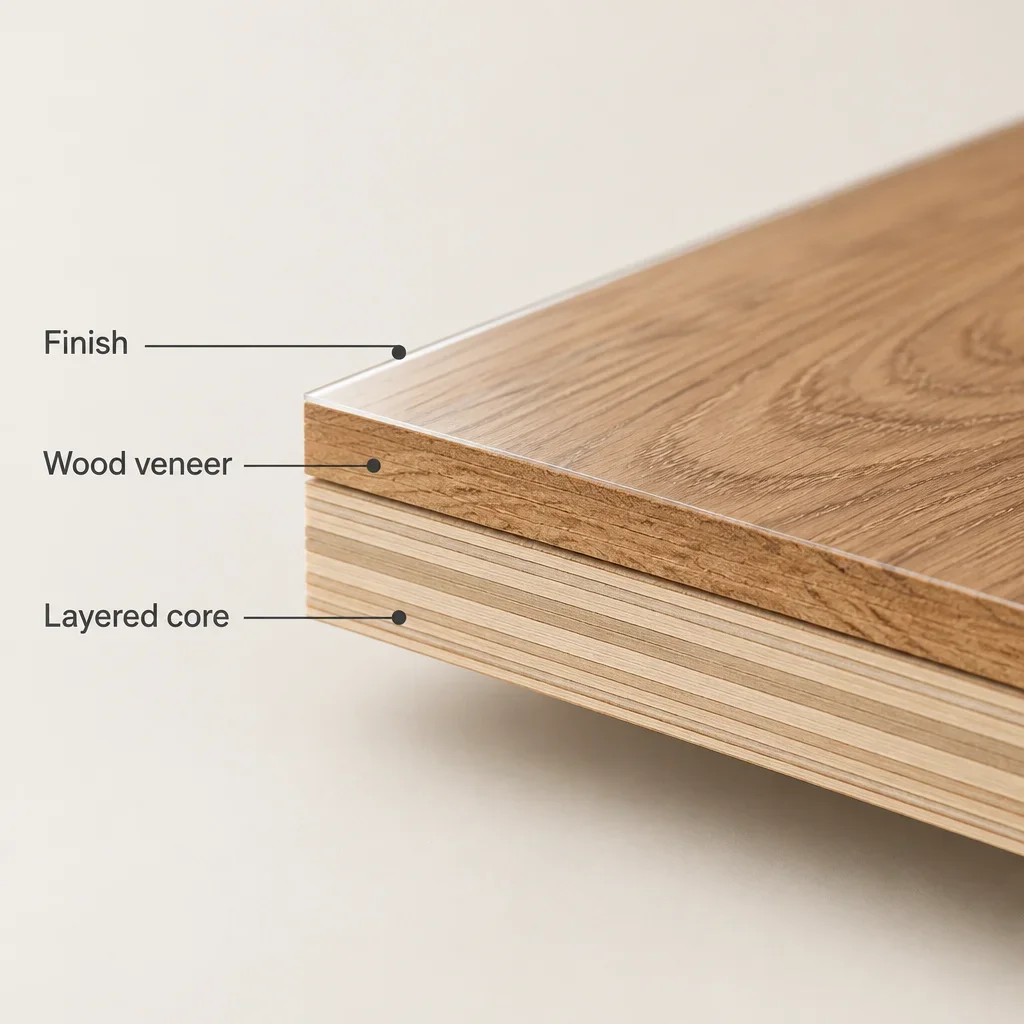
Dog scratches on engineered wood floors affect real wood and its finish, just as they do on solid hardwood. The difference is the limited wood surface above the core. Overall plank thickness does not establish whether sanding is safe.
| Repair option | Purpose | Main limitation |
|---|---|---|
| Cosmetic touch-up | Reduce colour contrast or disguise a small defect | Does not remove a groove or rebuild the original coating |
| Compatible professional recoat | Renew a worn finish without full sanding | Requires suitable preparation, finish compatibility, and adhesion |
| Professional sanding and refinishing | Remove surface material and establish a new finish | Depends on remaining wood surface, previous sanding, texture, bevels, and product restrictions |
| Board replacement | Remove an isolated severely damaged plank | Depends on installation, matching material, and adjacent-board condition |
Some thin-veneer engineered floors cannot be sanded. Other products may permit refinishing, but a stated wear-layer thickness is not a guaranteed number of sanding cycles. Previous sanding, uneven wear, textured surfaces, and construction details all affect the remaining material available.
Engineered hardwood flooring can appear to scratch easily because of its finish characteristics, high sheen, dark colour contrast, tracked-in grit, or concentrated traffic. On a recently site-finished floor, incomplete curing can also affect resistance to use. Engineered construction alone does not explain surface performance.
Restoring engineered wood without sanding means choosing a suitable cosmetic touch-up or compatible recoat, not removing deep damage. If replacement becomes relevant, compare the construction and repair limitations discussed in [choosing hardwood and engineered wood](#choosing-hardwood-and-engineered-wood-for-a-home-with-dogs).
Household shortcuts can temporarily disguise a line without repairing the damaged finish. Residue, abrasion, or unwanted colour can then make the eventual repair harder. The safer default is the floor’s approved cleaning and maintenance system.
| Product or remedy | Claimed benefit | Why it does not remove the underlying damage | Potential drawback | Safer approach |
|---|---|---|---|---|
| WD-40 | Makes scratches disappear | Wetting or residue may change appearance without replacing damaged wood or finish | Residue can complicate later finish adhesion | Approved cleaner, followed by a compatible repair assessment |
| Vinegar and olive oil | Cleans and disguises scratches | Oil changes contrast; neither ingredient rebuilds finish | Vinegar can affect some finishes; oil can leave a slippery residue | Use the finish-approved cleaner and touch-up system |
| Walnuts or other food oils | Darkens pale lines | Deposits oil or colour rather than repairing the protective surface | Residue, uneven colour, and cleaning complications | Tested flooring colour touch-up |
| Coffee or tea | Stains exposed wood | Adds uncontrolled colour without repairing a groove | Uneven staining and added moisture | A compatible colour repair product |
| Baking soda paste | Scrubs marks away | Abrasion does not distinguish scuff material from finish | Dulling or altered sheen | Soft cloth and approved cleaner |
| Magic Eraser or other melamine foam | Removes stubborn scuffs | Its abrasive action can remove or dull surface material | A larger visible dull patch | Non-abrasive cleaning approved for the finish |
| Dawn or other dish soap | Cleans dirt and grease | Cleaning does not repair scratches | Residue or excessive water from an unsuitable cleaning method | Floor-approved cleaner used as directed |
| Generic polish or finish restorer | Restores shine and hides lines | Adds material over damage rather than removing it | Waxes, silicones, or films may complicate future recoating | A maintenance product explicitly compatible with the finish |
Dawn dish soap is not a universal hardwood-floor cleaning recommendation, and vinegar is not a default cleaner for engineered hardwood. Finish systems differ. A cleaner approved for the actual floor avoids relying on a homemade recipe that may leave residue or affect sheen.
Approved cleaning is the lowest-cost starting point because it targets removable material without altering the floor. Beyond cleaning, the right comparison is the damaged area and intended result: hiding an isolated line is a different job from renewing a room’s finish.
| Approach | Suitable damage | Relative cost | Effort or disruption | Expected visual improvement | Principal limitation |
|---|---|---|---|---|---|
| Approved cleaning | Dirt and transferred scuffs | Lowest | Local cleaning | Removes surface deposits | Actual scratches remain |
| Marker or pencil | Small areas of colour loss | Low | Careful testing and application | Reduces contrast | Groove and finish damage remain |
| Compatible groove filling | Isolated gouges | Low material cost; professional labour adds cost | Detailed local work | Levels or disguises the defect | Grain and sheen may not match |
| Professional recoating | Compatible worn finish | More than local touch-up; less material removal than refinishing | Room preparation and restricted access | Renews surface appearance | Does not remove deep wood damage |
| Sanding and refinishing | Broad wear or damage within a sandable surface | Higher-scope work | Furniture removal, preparation, and curing restrictions | Can substantially renew an eligible floor | Removes wood and cannot solve every stain |
| Board replacement | Isolated severe damage | Scope-dependent | Local removal and installation | Removes the damaged plank | Matching and access can dominate cost |
A small board replacement can cost less than whole-room treatment when matching material is available and access is straightforward. Difficult removal, unavailable stock, or damage beneath the plank can reverse that comparison. Flooring material prices are not installed repair estimates.
A useful quote separates the damaged area, floor construction, finish system, furniture moving, matching materials, transitions, subfloor work, and minimum job charges. It should also distinguish surface drying from full cure, including restrictions on pets, rugs, cleaning, and furniture.
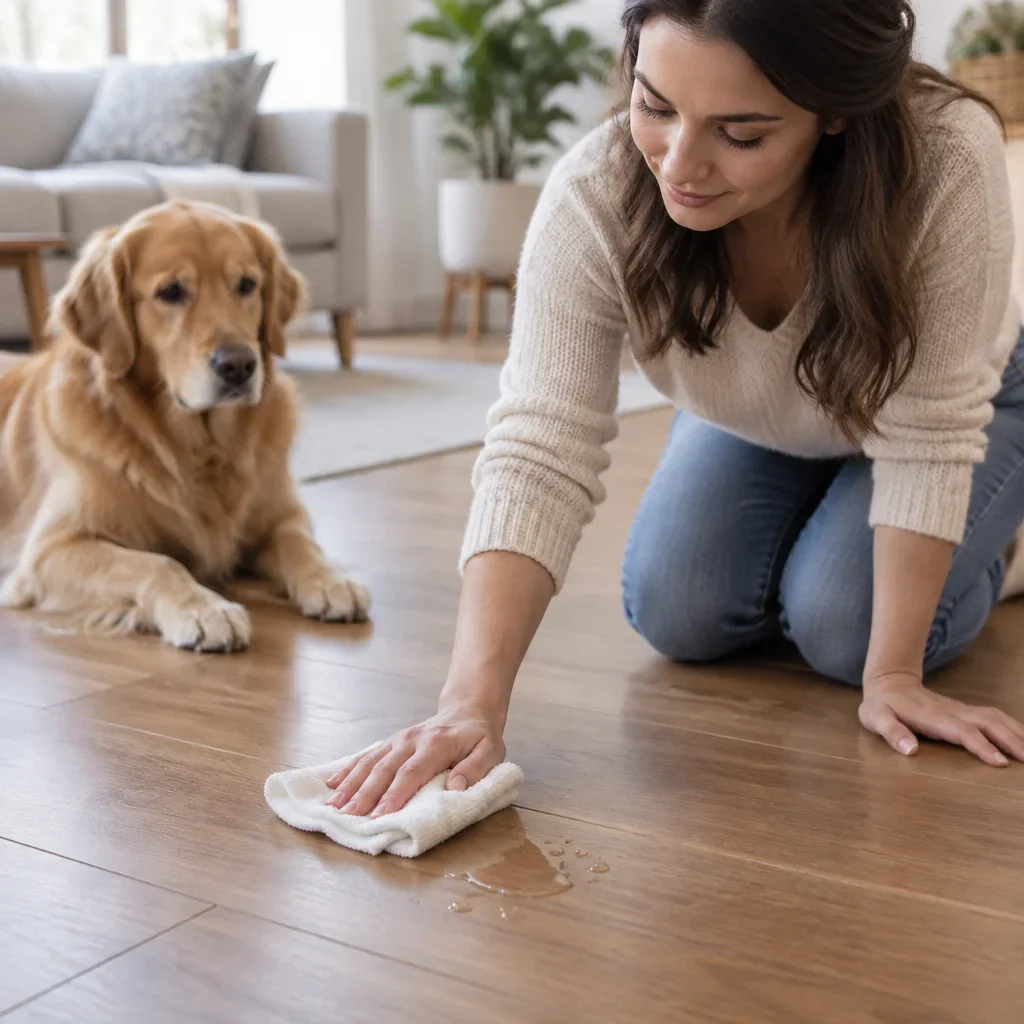
Blot fresh accidents promptly, use a finish-compatible cleaner, and dry the surface without flooding it or applying heat. An enzyme cleaner intended for pet accidents is not automatically compatible with every wood finish. Use only a product whose instructions include the relevant flooring surface.
Visible drying does not prove that urine stayed above the finish. Liquid can enter joints or damaged areas before the surface looks dry. Dark staining, persistent odour, swelling, or cupping can indicate damage requiring more than a cosmetic scratch treatment.
Sanding is not a guaranteed cure for urine stains because contamination can penetrate below the removable surface or reach the subfloor. Persistent odour or distorted boards may require board removal and work beneath the finished flooring.
Renters should separate routine cleaning from changes that alter the floor. Markers, fillers, sanding, and new coatings can change colour or sheen, making a small scratch more conspicuous.
Leaving a superficial scratch alone can be safer than making an unauthorized colour or finish change. This is especially relevant where the original finish is unknown and a touch-up could affect a much larger area.
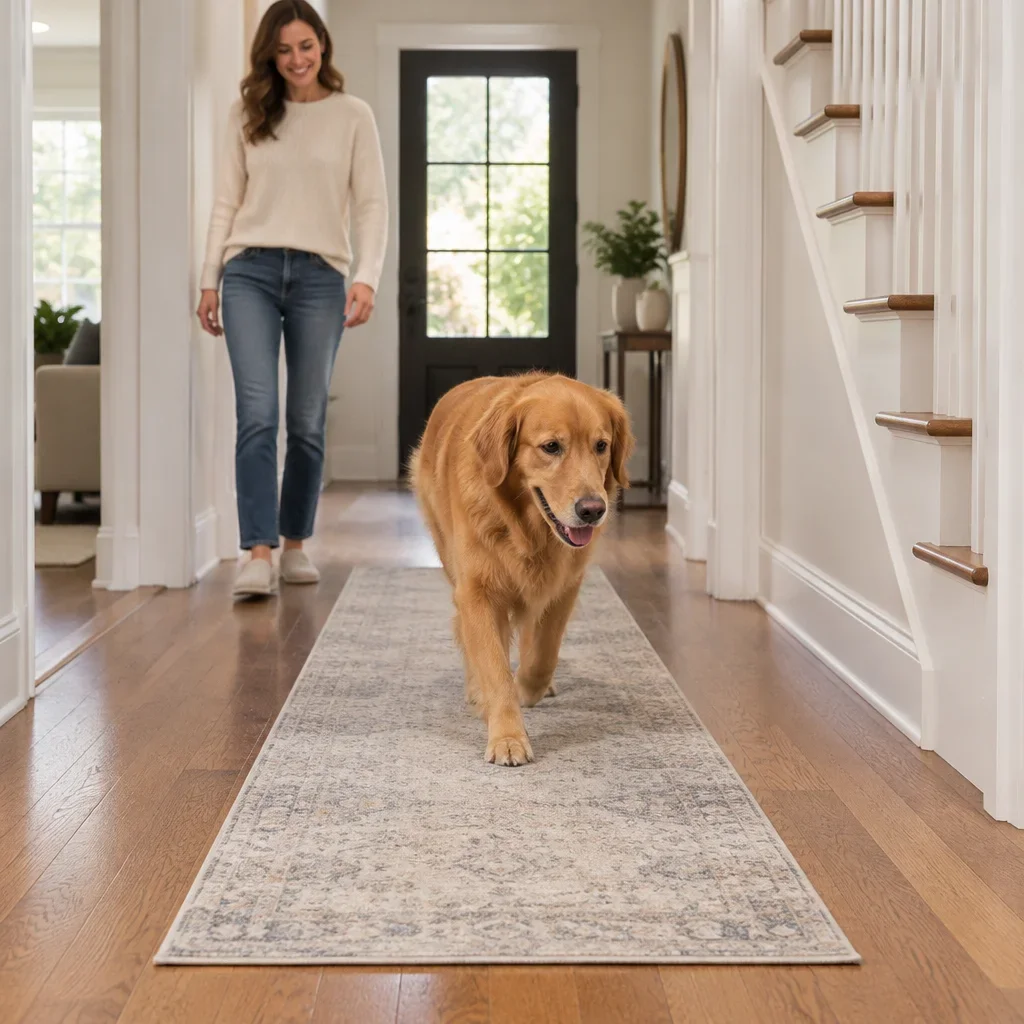
No breed or size guarantees scratch-free floors. Small dogs can scratch wood through sharp nails, skidding, or grit carried indoors. Larger dogs may apply more force during turns, but activity, traction, nail condition, and floor characteristics matter alongside size.
The most useful prevention routine controls abrasion and gives dogs secure footing:
Dogs slipping on hardwood need secure traction, not a coating of household oil or polish. A runner that stays in place can reduce skidding and concentrated claw contact. Loose rugs can create the opposite problem by moving under the dog.
A crate mat must protect against both mechanical contact and trapped moisture. A waterproof upper surface does not guarantee that its backing is compatible with the floor, and moisture can still collect beneath it. Lift the protective layer regularly to inspect and clean underneath.
Mop according to visible soil and the floor’s care instructions rather than a fixed dog-owner schedule. Remove grit as needed, spot-clean accidents promptly, and damp-mop with minimal water. Keep pets off wet surfaces, and avoid steam mops unless the flooring instructions explicitly permit them.
No hardwood species or finish is dog-proof. Wood hardness helps explain resistance to indentation, while scratches also involve the finish, grit, claw contact, and movement. A harder species can still show fine surface lines.
The Janka hardness test measures the force required to embed a steel ball into wood to a specified depth. It is an indentation test, not a test of a finished floor’s resistance to dog claws. These reference values describe the listed species, not guaranteed performance for every flooring product.
| Wood species | Reference Janka hardness | Practical consideration |
|---|---|---|
| Northern red oak | 1,290 lbf | Prominent grain can help break up the appearance of small marks |
| White oak | 1,360 lbf | Visible grain and natural variation can help disguise everyday wear |
| Hard maple | 1,450 lbf | Higher indentation resistance than these oak references; quieter grain can make individual marks stand out |
| True hickory | 1,820 lbf | Strong indentation resistance and pronounced variation; repair matching still depends on the board |
Hickory hardwood flooring is worth comparing when indentation resistance matters, but its hardness does not establish a scratch-proof finish. Exact species identity also matters: a broad commercial wood name does not describe every species sold within that grouping.
Matte or satin finishes, moderate colour contrast, and visible grain can make scratches less conspicuous than a smooth, dark, high-gloss surface. These choices change visibility rather than preventing damage. Wire-brushed, distressed, and hand-scraped textures also bring cleaning and spot-repair trade-offs.
Factory-applied aluminum oxide finishes differ by product and do not make wood waterproof or immune to scratches. Densified engineered hardwood is likewise a specialized construction category, not a universal durability score. Compare documented product testing, maintenance requirements, and exclusions rather than relying on the marketing label.
Solid hardwood can offer long-term refinishing flexibility because the board is wood throughout, although usable material is still limited by its profile and condition. Pet-friendly engineered hardwood flooring should be judged by its finish, repair options, construction, and remaining surface wood, not the word “engineered” alone.
A pet-related warranty must be read for the actual event it covers. Scratches, urine, standing liquids, and maintenance conditions may have separate exclusions. A water-protection claim should never be treated as automatic coverage for every pet accident.
The best flooring choice balances scratch visibility, accidents, traction, comfort, and repairability. A product described as waterproof can still leave joints, perimeter details, or the subfloor vulnerable under conditions outside its installation and warranty requirements.
| Material | Scratch and dent considerations | Accident or moisture limitations | Traction and comfort | Repairability | Household fit |
|---|---|---|---|---|---|
| Solid hardwood | Can scratch and dent; species and finish both matter | Wood can stain or swell after liquid exposure | Surface finish affects grip; rugs can improve footing | Potential for refinishing, subject to condition | Buyers who value real wood and long-term renewal |
| Engineered hardwood | Real-wood face can scratch or gouge | Dimensional stability does not make it waterproof | Similar surface considerations to solid wood | Touch-up, recoat, sanding, or replacement depend on product | Buyers wanting real wood with construction suited to the room |
| Laminate | Surface performance is product-specific; edges can chip | Joint and core protection depend on the product and installation | Texture affects grip; underlay affects sound and feel | Cannot be sanded like wood; damaged planks may need replacement | Buyers comparing wear performance and purchase cost |
| Luxury vinyl | Can scratch, dent, or gouge | Product waterproofing does not protect every part of the floor assembly | Texture and construction affect grip and comfort | Local replacement may be possible; not wood-style refinishing | Households prioritizing accident cleanup and straightforward care |
| Porcelain tile | Durable surface, but chips and grout wear remain possible | Joints and the assembly still matter | Hard underfoot; wet traction depends on surface | Individual tile or grout repairs may be possible | Households prioritizing a hard surface and accepting comfort trade-offs |
A large, active dog benefits from secure running routes regardless of the material. A small dog carrying grit indoors still needs entry mats and regular debris removal. These habits reduce abrasive contact that no flooring label eliminates.
A senior dog with mobility needs or frequent accidents brings traction and cleanup to the foreground. A wood-focused buyer who values future refinishing may accept visible wear in exchange for repair flexibility. Neither decision should rest on dog weight or a single wear-layer specification.
For replacement planning, compare samples alongside the [prevention measures](#how-to-prevent-dog-scratches-and-slipping) you will actually use. A floor that suits your maintenance routine is more useful than a theoretical durability winner that leaves your dog slipping or your household struggling with cleanup.
A scratch is completely removed only when the damaged material is removed or the damaged board is replaced. Cleaning may remove a scuff that looked like a scratch. Markers and pencils usually conceal colour differences without removing the underlying groove.
Buffing is not a universal repair for dog nail scratches on hardwood floors. Abrasive buffing changes the finish surface and may create a sheen mismatch. Any polishing or recoating method must suit the existing finish, especially on newly finished floors.
A floor-rated, compatible compound can fill an isolated deep scratch without broad sanding. It may reduce visibility and smooth the defect, but it cannot recreate every grain pattern or factory texture. Board replacement is another possibility for severe local damage.
Compatible touch-up or professional recoating can improve engineered wood without removing its surface layer. Neither method removes a deep gouge. Sanding eligibility requires assessment of the remaining wood surface, previous treatment, and product construction.
Small dogs can scratch wood floors, and no breed guarantees otherwise. Sharp nails, skidding, and tracked-in grit can damage a surface even when the dog is light. Nail care, grit removal, and secure traction remain useful across sizes.
WD-40, olive oil, and walnut oil do not rebuild damaged wood or finish. They can change how a scratch reflects light while leaving residue. That temporary disguise can complicate later cleaning or finish adhesion.
Use the cleaner approved for the floor’s finish, applied with minimal moisture. Dish soap and vinegar are not universal substitutes. Remove grit when it appears, clean accidents promptly, and keep dogs off the floor while it is wet.
Use a stable protective layer with a backing compatible with the floor finish. Inspect beneath it for trapped grit, moisture, and surface changes. A mat that slides or traps contamination can create damage despite covering the crate area.
Dog nails can scratch vinyl, and concentrated force can also leave dents or gouges. Surface construction, grit, activity, and care affect performance. Vinyl can simplify accident cleanup, but it is not dog-proof.
A repairable scratch is not a reason to replace an entire floor. If you are already renovating, compare samples with your dog’s activity, accident history, traction needs, and your preferred maintenance routine in mind.
At Canadian Flooring, we supply hardwood, engineered wood, laminate, and vinyl. We also manufacture solid hardwood directly and offer custom colour, surface, and gloss options. Visit our showroom at 2687 Steeles Ave. West, North York, Ontario to compare samples, or request a flooring supply-and-install quote, including stairs where relevant. Bring room photos, approximate dimensions, and a budget so we can help compare practical replacement options.